Interior Trim and Crown Molding Installation Explained
How interior trim and crown molding installation works: trim types, miter and cope joints, paint- vs stain-grade, and what a clean install looks like.
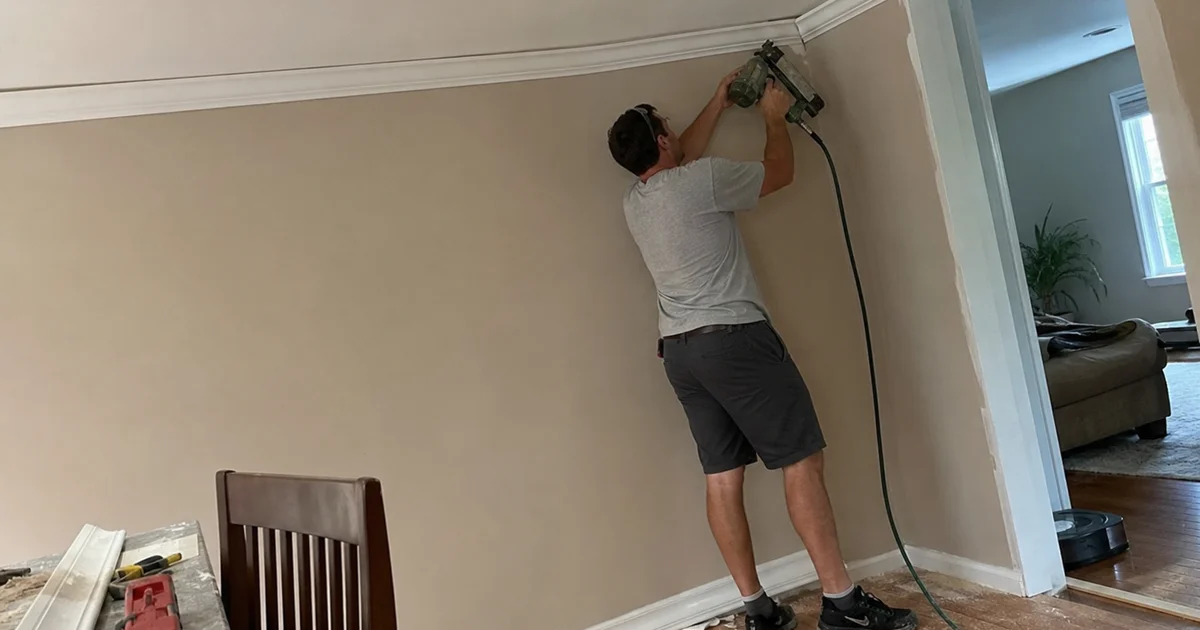
You know how a room can have expensive floors and fresh paint but still feel somehow unfinished or cheap?
We see this scenario constantly across local homes, and the culprit is almost always poor finish carpentry. Proper trim and molding installation dictates the visual scale of a room, transforming a basic drywall box into a purposefully crafted space.
Knowing the standard measurements ensures your trim actually fits the proportions of your house. Let’s look at the data behind choosing the right profiles, and then explore the exact techniques our finish carpenters use to guarantee tight joints.
The four common trim types for trim and molding installation
The four main categories of interior woodwork are baseboards, door and window casing, crown molding, and chair rails. These elements are frequently mixed within the same room to build a cohesive design.
We help homeowners balance historic character with modern proportions on a daily basis. Selecting the correct size and profile completely changes the final aesthetic. Our carpentry team can match existing trim in an older home or install fresh profiles for a whole-room refresh.
- Baseboards: These run along the floor to protect walls, sometimes utilizing a shoe molding at the very bottom. Standard baseboard installation requires a 3.25-inch height for standard 8-foot ceilings, but upgrading to a 5.25-inch profile prevents the room from looking dwarfed if you have 9-foot ceilings.
- Door and window casing: This material frames the rough openings to provide a finished border around glass and entryways.
- Crown molding: This decorative piece runs at the ceiling line and requires extreme precision for a clean crown molding installation.
- Chair rail: This horizontal strip wraps around the middle of the wall, functioning as a historic touch often found in dining rooms and older colonials.
Miter vs. cope joints (this is what separates good from bad)
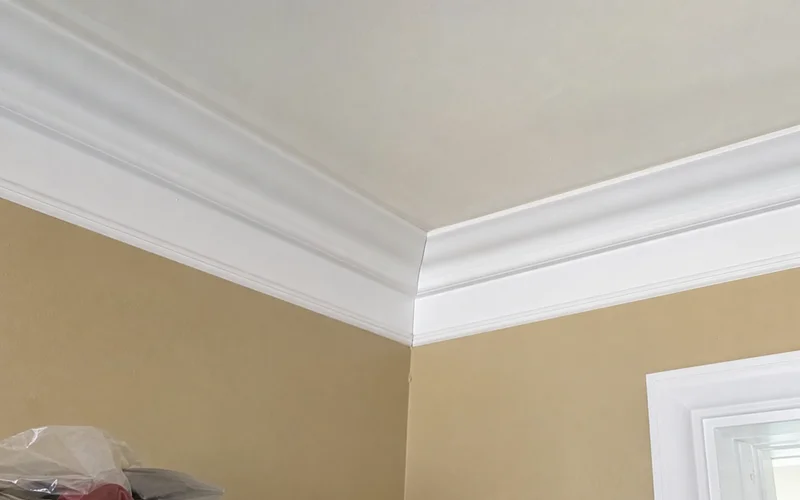
Good trim work utilizes coped inside corners to absorb wood movement, while bad trim work relies on simple miter cuts that eventually crack open. At an outside corner, both pieces get mitered at a 45-degree angle to meet in a clean point.
We prioritize longevity, which makes proper joint construction absolutely critical. At an inside corner, cutting a flat miter is a beginner move. You might see a tight seam on day one, but seasonal humidity swings will quickly open a small gap within a year. The professional approach is a cope joint, a technique that cuts the exact profile of one piece into the end of the other so it wraps securely around the adjoining board.
Coped joints stay tight through decades of moisture changes because they absorb slight movement without breaking the visual line. Before an interior trim install begins, wood should acclimate inside the house for a few days to reach a stable 6 to 8 percent moisture content. Taking this basic preparatory step minimizes extreme shrinking when the winter heating kicks on. If you inspect past finish carpentry, look closely at those inside corners. A clean, profile-into-profile intersection indicates a properly coped joint, while a simple 45-degree miter inevitably exposes a gap.
Why we caulk paint-grade but never stain-grade
Paint-grade trim gets a thin bead of paintable caulk at any joint that could open, such as inside corners, wall-to-trim seams, and butt joints in long runs. Once painted, the caulk disappears completely. Stain-grade trim lacks this forgiving step, so every joint has to be perfect right off the saw. That strict requirement is exactly why stain-grade carries a higher labor cost.
Timeline and what to expect
A standard single-room trim install typically takes one full day, requiring 4 to 5 hours for baseboards and a few extra hours for casings and crown. Our projects follow a highly predictable sequence to keep your home functional.
| Task | Duration |
|---|---|
| Baseboard install (200 linear ft) | 4-5 hours |
| Door + window casing (3 openings) | 2-3 hours |
| Crown molding (200 linear ft) | 3-5 hours |
| Caulk and paint-ready finish | 1-2 hours |
This standard timeline assumes a pace of roughly 40 to 50 linear feet of baseboard per hour. Doors and window casings usually go in during the same visit as the floor trim. Crown molding often gets scheduled separately because measuring the varying ceiling angles requires deep concentration.
We can prime and paint the woodwork or leave it paint-ready, depending entirely on what you prefer. Applying a premium acrylic latex caulk like DAP Alex Plus allows us to deliver a paintable surface in just 30 minutes. This quick drying time means painters can start their final coats on the same day.
Are you planning a full room refresh with built-in storage? Our custom shelving guide covers what to expect on that side of the renovation.
Getting your finish carpentry right fundamentally upgrades the entire feel of your home.
We understand that balancing daily life with renovations feels stressful. Expert trim and molding installation eliminates the guesswork and secures a flawless, proportional finish that stands up to seasonal changes.
Call our team today to get your room measured and scheduled.